Create and compare field plan budgets
Using an existing field set up in your Trimble Ag Software account, you can quickly generate a series of field plans to compare the cost of different crop management strategies. Compare side-by-side budgets with basic or complex operational details, to gauge the cost per unit of production and benefits of each scenario. Save time by converting a plan to actuals, to use as your plan of record in the Field Manager when tracking field-level events and expenses throughout the crop season.
- Log in to your account online (learn more)
- Select the preferred crop year (top left)
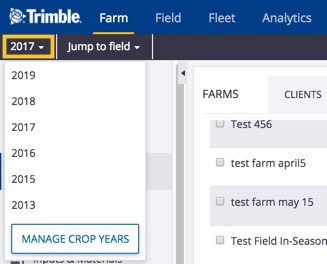
- Click Jump to field and select the field name

- Not seeing it? Type the first few letters to search by name, or go to the Field menu to select the field name from the Field Profiler list
- if two fields with the same name are shown, choose the field with a crop listed
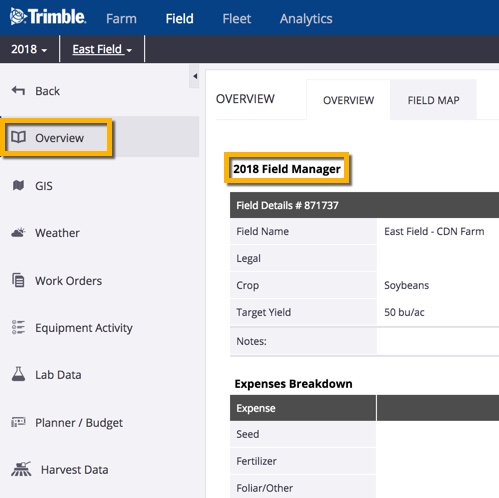
- From the Field Manager screen, select Planner / Budget (left navigation menu)
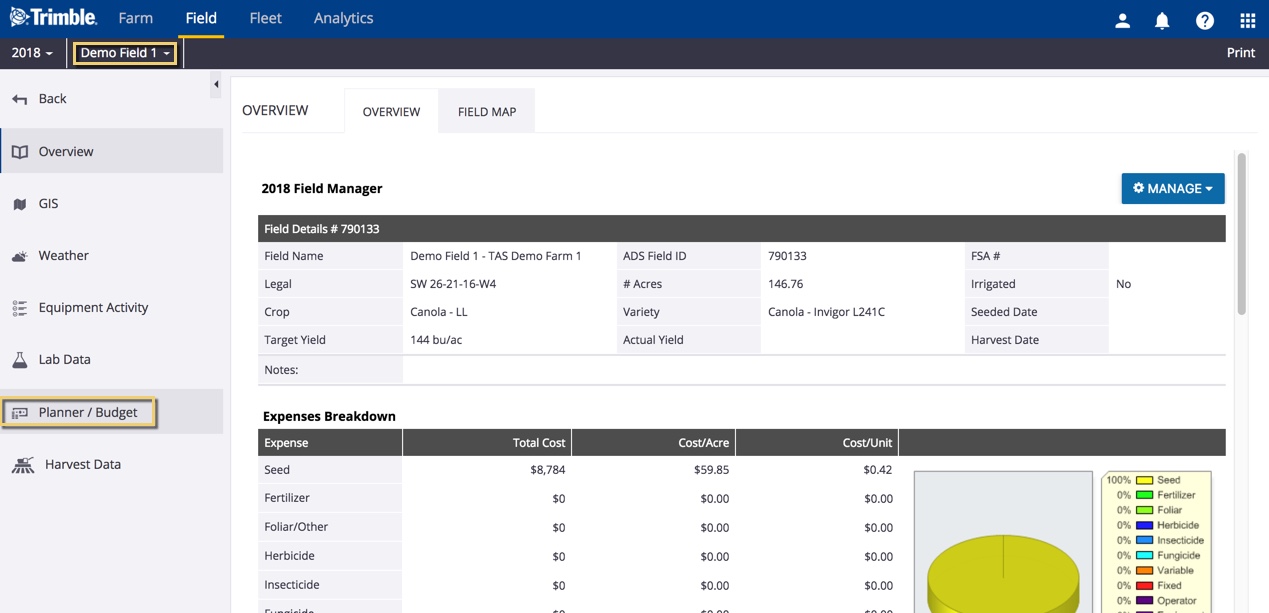
- On the Field Planner screen, add or select options to define a new plan

- Enter a Name for your field plan (example: Good, Better and Best)
- Select a Code from the dropdown list to help keep your plans organized
- Adjust the default Crop, if needed, by selecting a different crop from the list (or click +Add Crops) to add to your crops
- Enter a Target Yield amount and click to adjust the unit of measure

- Enter a Target Price for the yield
- Click Create Plan to save changes (or navigate away from this screen to cancel)
- Review the new Field Planner and scroll down to enter relevant fixed and variable expenses for this plan
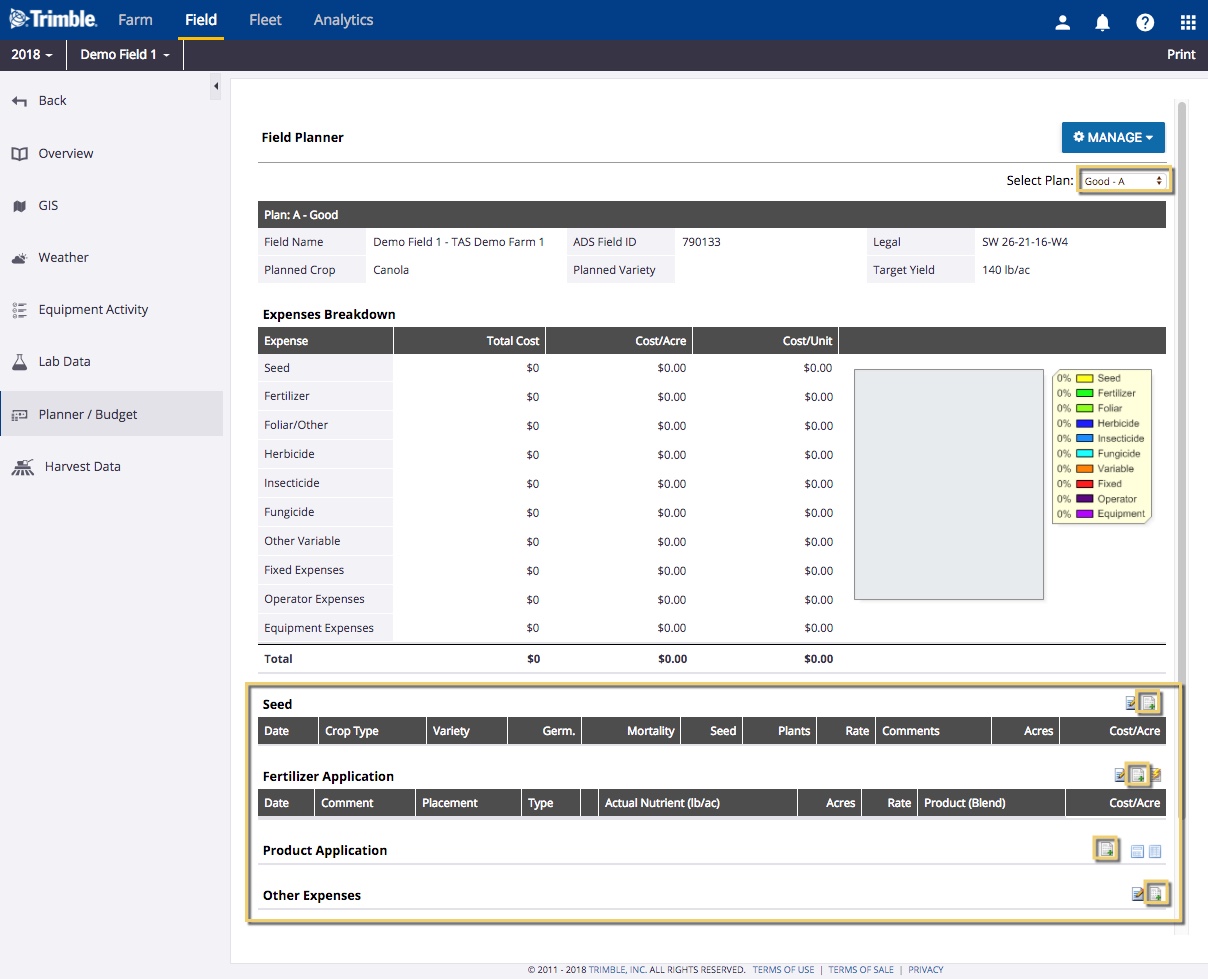
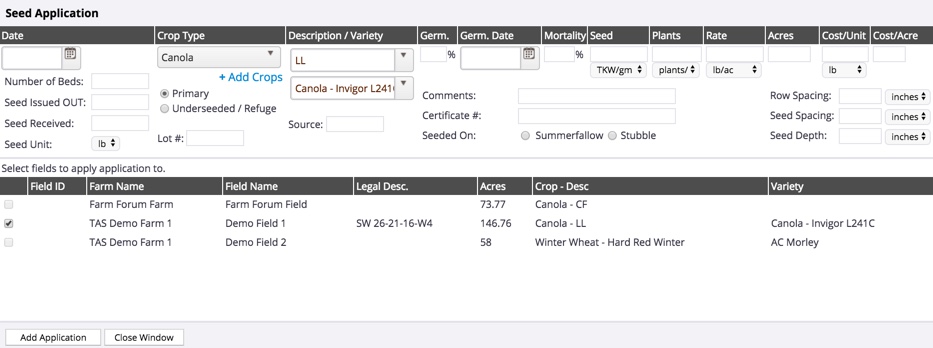
- Seed – click the add record
 icon to display or edit the default crop type costs for any planned seed applications, then select one or more fields and click Add Application (or Close Window)
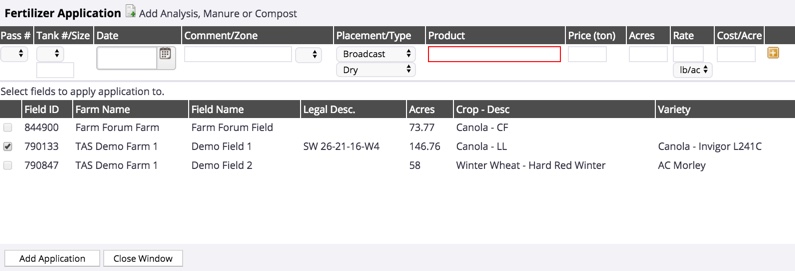
- Fertilizer Application – click the add record
 icon to add any any planned fertilizer applications, then select one or more fields and click Add Application (or Close Window)
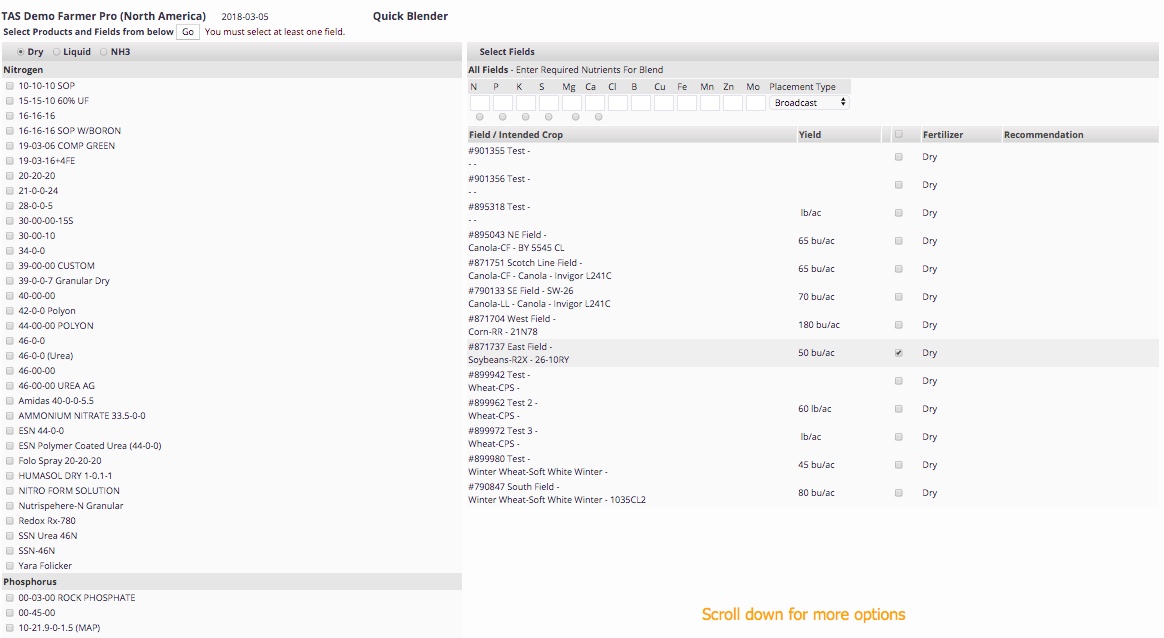
- To record a fertilizer mix, click the Quick Blender (lighting bolt)
 icon to make selections from the pop-up window shown below, then click GO
- Product Application – click the add record
 icon to add any any planned applications, then select one or more fields and click Add Application (or Close Window); once a plan is converted to actual, this is where you can view or edit tasks read-in from vehicle displays or third-party accounts in the Field Manager Overview tab

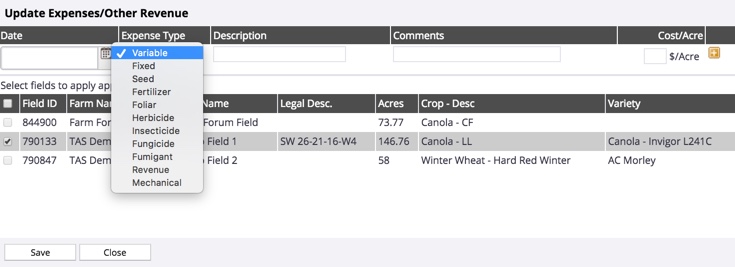
- Other Expenses – click the add record
 icon to add any any other expense types (such as tractor repairs or lease costs), then select one or more fields and click Save (or Close)
- Seed – click the add record
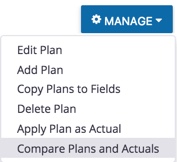
- Scroll to the top of the screen and click the Manage Button, then select Compare Plans and Actuals
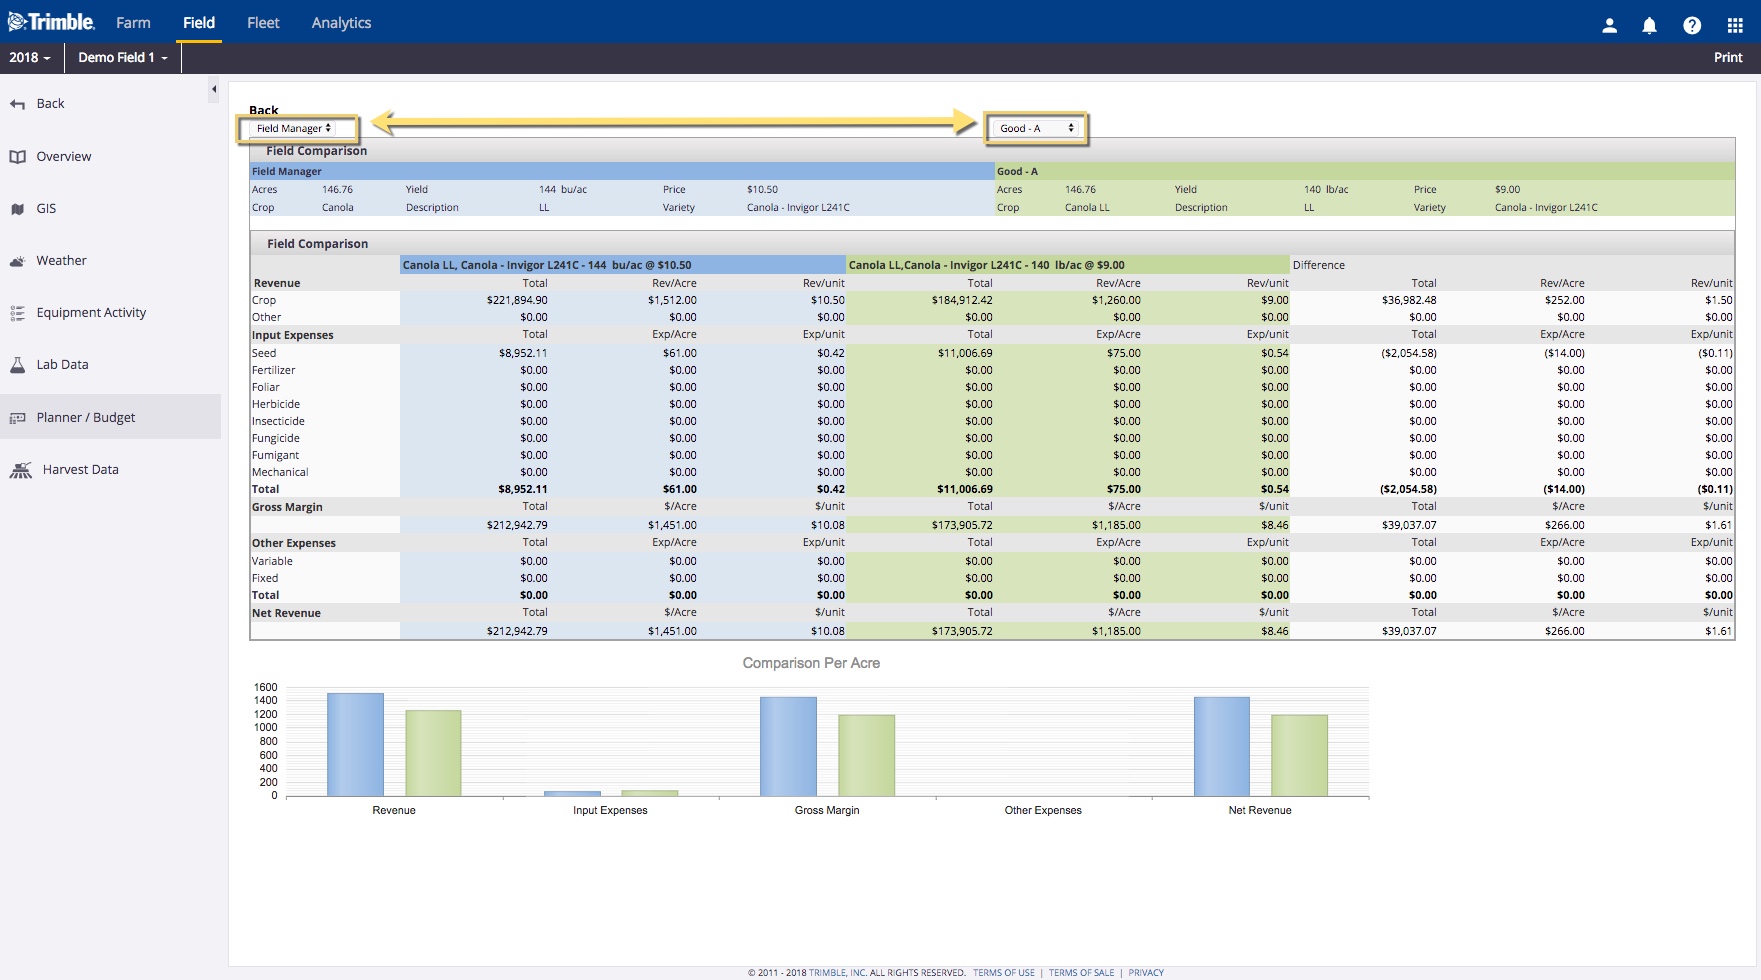
- Select any two plans or actuals from the lists at the top of the screen to view or print the Field Comparison report to see the total cost of operating between actuals (in our example, the Field Manager actuals are on left, and the new scenario, Good – A plan, is on the right)
- Click Back (top left) to return to the previous screen
- To add more scenarios, click the Manage button and select Add Plan
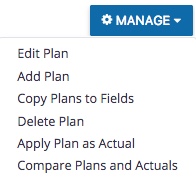
- Toggle between plans by choosing from the Select Plan list, beneath the Manage button

- To begin working with your preferred plan as the plan of record, click Manage and select Apply Plan as Actual (replaces existing Field Manager plan of record, including any actual applications or expenses already recorded for the crop year)
- From the left navigation menu, select Overview to return to the Field Manager (actuals) screen
