Creating a new alert
- In the Alert tab, click Configure.
- From the Manage drop-down list, select New Alert from the drop-down list.
- In the Creating Configured Alert screen, complete the fields as follows:
| Section | Description |
| Alert Data | 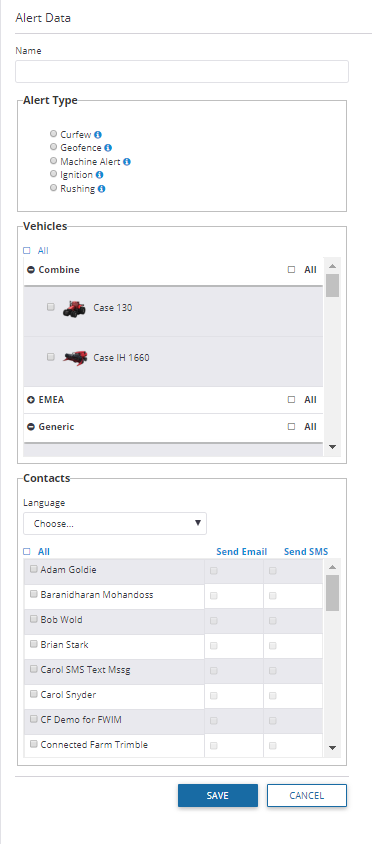
|
| Alert Details: Geofence
(traditional Fleet only) |
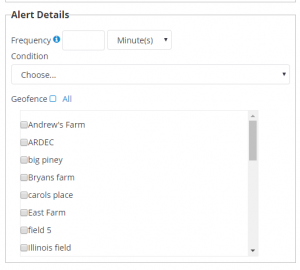
Note – For each geofence alert you can select to trigger the alarm for entry to or exit from a boundary, or both. Exit triggers can be used to signal completion of work in a given area or to signal possible misappropriation of a vehicle from its area of use. Entry triggers can be used to signal if a vehicle has entered a restricted area.
|
| Alert Details: Curfew
(traditional Fleet only) |
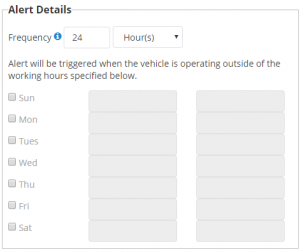
Frequency is same for all types of alerts as described above. Enter the working hours for each day, as required, during which the vehicle may be turned on. The alert is triggered if the ignition is turned on outside the defined working hours. |
| Alert Details: Ignition
(traditional Fleet only) |
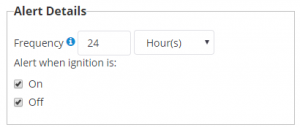
Select the appropriate checkbox – the alert will be triggered accordingly. |
| Vehicles | 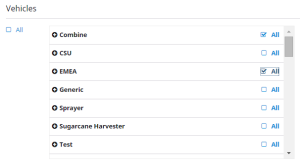
Select the check box next to each vehicle to which the alert will apply. If you select a Vehicle Group (for example Sprayer), all vehicles that belong to that group will be included in the alert. |
| Alert details: Rushing
(FarmStream Fleet only) |
Rushing alerts require an FmX display with firmware version 9.27 or higher, a TMX-2050 with firmware 4.3.1 or higher, or a GFX-750 display with firmware 1.5 or higher. The display mush have a Display Connections (formerly Vehicle Connections) license assigned to it. |
| Alert details: Machine Alerts
(FarmStream Fleet only) |
Choose the manufacturer that you want to be alerted for receiving fault codes on. See the Fleet interface for supported manufacturers. |
| Contacts | 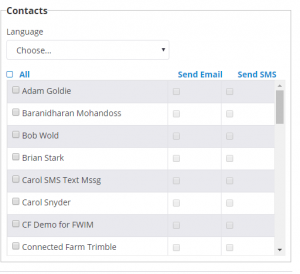
Select the check box next to the name of the contact(s) who should receive the alert. The program allows you to enter an email address for the alert. Alerts may also be sent as a text if you enter the email address for the text functionality on your phone. See Creating a contact. To select all contacts, click the All check box. |
- Click Save.
